Springfold Paper/All plans/Dimensional scenes/2026-08
Shadow Box Theatre: A 60 mm Carcass That Stays Square
A shadow box fails at the corners long before it fails at the scenery. This one is built as a single cross net with 10 mm tabs, dry-fitted with masking tape first, and glued only once the aperture has been checked against a set square.
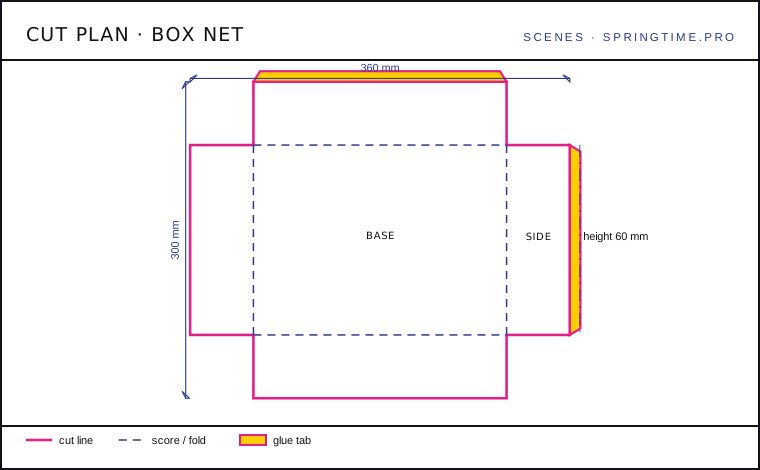
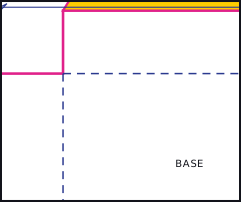
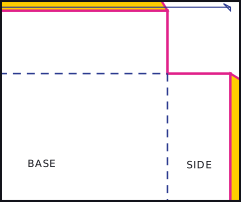
Score the cross net, then cut the outside last
Score all four base creases first with the bone folder against the steel ruler. On 300 gsm card you will feel the board give on the second pass; that is the fibre breaking where you want it to. Cut the outer contour afterwards, because a cut edge on 300 gsm curls slightly and a curled edge will not run true against the ruler.
Cut the aperture after the creases but before folding, and cut it from the inside out — start the blade in the middle of the panel, not at the edge. Starting at the edge tears the corner where the blade enters.
Bevel the aperture lip rather than leaving it square
Cut a 6 mm strip back from the aperture edge at 45°, fold it away from the viewer. This lip does two things: it catches light from the side and gives the front plane a visible thickness, and it hides the cut edge of the card, which on 300 gsm is a pale core colour that shows badly against a dark scene.
Paint or blacken the inside faces before assembly if the scene is dark. Reaching into a 60 mm deep box with a brush after it is built is possible and unpleasant.
Dry-fit with tape before a single drop of glue
Fold the net up, tape the four corners with masking tape on the outside, and check the diagonals with the ruler. The two diagonals of the front aperture must measure the same to within 1 mm. If they differ by 2 mm or more, the box is a parallelogram and the scenery planes will not sit flat.
Correct a skewed box by re-scoring rather than forcing. A 300 gsm crease that has been folded once already has a memory; re-score 1 mm to the other side and fold again, and the panel comes back square.
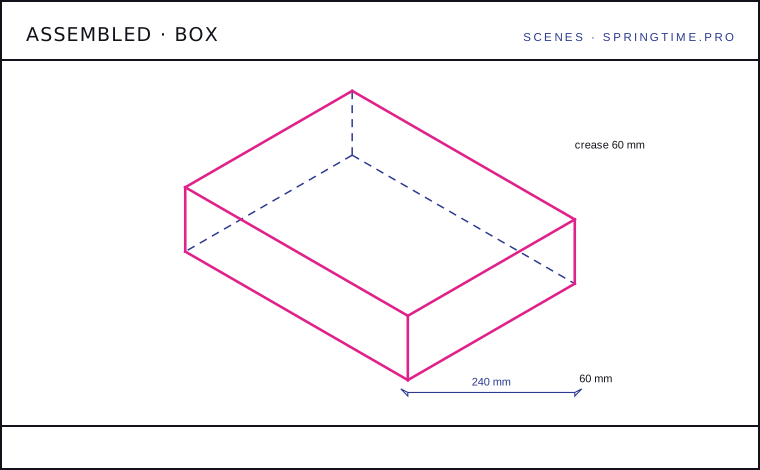
Glue the tabs from the inside, then add the scenery planes
Remove the tape two corners at a time, brush PVA on the inside face of the tabs, and clamp. Work in opposite pairs — two diagonal corners, then the other two — so the box cannot pull itself out of square while the glue is wet. Thirty minutes in clips is enough at room temperature.
The three scenery planes go in on the notched spacer strips, back to front, and are not glued to the carcass at all. Trapping them means the box can be re-lit and re-arranged later without destroying it, which matters because the fourth idea for a shadow box is always better than the first.
Specification
| Carcass | 240 × 180 × 60 mm, one-piece cross net |
|---|---|
| Card | 300 gsm carcass, 160 gsm scenery planes |
| Aperture | 190 × 130 mm, centred, 25 mm border |
| Depth budget | Three planes at 20, 40 and 58 mm from the back |
| Working time | 120 minutes, including 30 minutes clamped |
| Blank size | 380 x 320 mm |
| Pieces | 1 |
| Assembled | 240 x 180 x 60 mm |
Fold order
| Line | Kind | Angle |
|---|---|---|
| All four base creases, mountain, folded away from the viewing face | mountain | 90° |
| Two 20 mm spacer strips scored at 20 / 120 / 220 mm | mountain | 90° |
| Front aperture lip, valley, 6 mm | valley | 45° |
Cut list
- One-piece cross net, 240 × 180 × 60 mm carcass
- Front aperture, 190 × 130 mm, with a 6 mm bevelled lip
- Two spacer strips, 20 × 240 mm, notched every 50 mm
- Back panel 240 × 180 mm cut separately — it is the removable lid
Check the plan against the object
What goes wrong
- Cutting 300 gsm with one knife pass. The second cut is not optional; a single pass leaves a torn edge that shows on the aperture.
- Gluing all four corners at once. The box pulls itself into a parallelogram as the first corner sets.
- Gluing the scenery planes in. Shadow boxes are almost always re-lit and rearranged afterwards.
Keep it clean
- Store flat with the back panel in place; a 300 gsm box stored on its side will take a set in the corner it rests on.
- Dust the interior with cold air, never a cloth — a cloth catches the aperture lip and bends it outward.
- Keep away from radiators. 300 gsm card delaminates at the tabs before it warps anywhere else.
Also in this section
- Paper Lantern Collar: Twelve Pleats on a 660 mm Band — 2026-08-29 · 60 min
- Pennant Bunting: Sixteen Flags That Hang Straight — 2026-09-07 · 45 min
- Layered Ridge Diorama: Seven Planes, 13 mm Apart — 2026-09-23 · 150 min