Springfold Paper/All plans/Dimensional scenes/2026-09
Layered Ridge Diorama: Seven Planes, 13 mm Apart
The depth cue that makes a paper diorama work is not the number of layers, it is the gap between them. Seven ridges at 13 mm, each one 6% lighter than the one in front of it, plus waxed tracing paper between the front two for haze.
Cut the ridges from a single folded block
Fold a 290 × 90 mm block of card seven layers deep and cut the front-most ridge on the top layer only. Unfold, remove that layer, and cut the next ridge into the remaining six layers — each ridge is cut with the ones behind it still intact, so the silhouettes nest naturally instead of being drawn to fit.
This is the fastest way to get seven ridges that look like one landscape. Cut each silhouette freehand, but keep the peaks coming down toward the centre: a range whose peaks rise at the edges looks like a bowl, not a view.
Sand the bases, then fold a 6 mm foot
Sand the bottom 3 mm of each ridge on the 400 grit block, holding the silhouette flat against the block and drawing it back five or six times. Sanded bases stand straight without any glue at all, which is essential because you will be moving them for the next hour.
Then score and fold the 6 mm foot at the base, away from the viewer. The foot is what stops a 220 gsm ridge from leaning; a ridge that leans by 2° at the base is out by 4 mm at the top, which is enough to break the alignment between planes.
Step the tone by 6%, not by eye
Mix seven greys with 6% lightness between each pair and paint the ridges before assembly — not after. Painting an assembled diorama means getting a brush between planes 13 mm apart, and the plane you are painting is always one you cannot see.
Keep a swatch card with all seven tones in order and number the backs of the ridges with a pencil. Once the seven boards are on the table they are indistinguishable, and swapping two of them destroys the whole depth effect.
Position planes from the back, and check the sightline from eye level
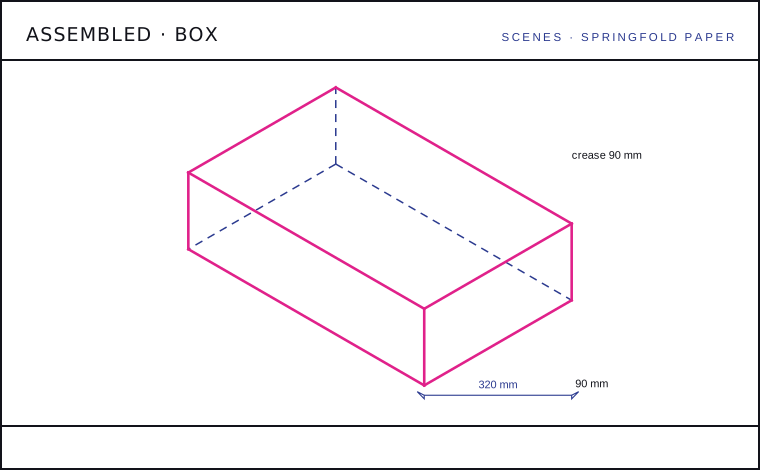
Put the carcass on the table, push plane seven into the back, and work forward. For each plane, sight along the top edge of the plane in front and raise or lower the one behind until roughly a third of it is visible. Standing at eye level rather than looking down is the whole trick — a diorama arranged from above looks crowded from every realistic angle.
The haze layer goes between planes one and two only, waxed side out. Waxing tracing paper with a candle stub and buffing it makes it translucent enough to read as atmosphere without a visible sheet edge.
Specification
| Ridges | 7 planes at 13 mm spacing |
|---|---|
| Carcass | 320 × 200 × 90 mm, 220 gsm |
| Tonal step | 6% lightness per plane, front to back |
| Haze | Waxed tracing paper between planes 1 and 2 only |
| Working time | 150 minutes; cutting the seven silhouettes is 70 of them |
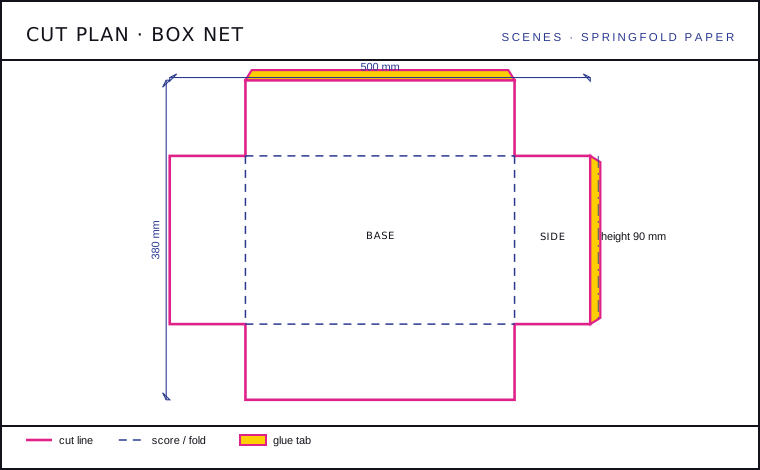
| Blank size | 524 x 404 mm |
| Pieces | 1 |
| Assembled | 320 x 200 x 90 mm |
Fold order
| Line | Kind | Angle |
|---|---|---|
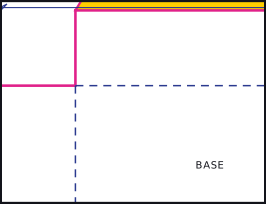
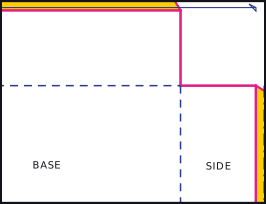
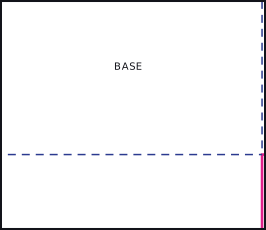
| Base creases, mountain, all four | mountain | 90° |
| Each ridge silhouette gets a 6 mm valley at the base so it stands without a tab | valley | 90° |
| Top edge of every ridge, valley, 2 mm — a rolled edge catches light | valley | 120° |
Cut list
- One-piece cross net, 320 × 200 × 90 mm
- Seven ridge silhouettes, each 290 mm wide, at seven different depths
- Top aperture, 300 × 180 mm, with a 5 mm lip
- Four 30 mm corner gussets to stop the walls bowing at 90 mm depth
Check the plan against the object
What goes wrong
- Spacing the ridges evenly in tone. Even steps read as flat; the 6% is what produces the depth.
- Painting after assembly. You cannot see the plane you are painting, and you will catch the one in front of it.
- Arranging the landscape while looking down at the table instead of from eye level.
Keep it clean
- Dust with cold air only. Sanded bases shed and any cloth will drag the ridges out of alignment.
- Store with a spacer block between the front plane and the aperture lip.
- If the carcass bows at 90 mm depth, the corner gussets are doing nothing — glue them to both the base and the wall, not just the base.
Also in this section
- Shadow Box Theatre: A 60 mm Carcass That Stays Square — 2026-08-18 · 120 min
- Paper Lantern Collar: Twelve Pleats on a 660 mm Band — 2026-08-29 · 60 min
- Pennant Bunting: Sixteen Flags That Hang Straight — 2026-09-07 · 45 min