Springfold Paper/All plans/Printable templates/2026-09
Cone Treat Pouch: One A4, Twenty Minutes
The fastest thing in this whole library: one A4 sheet, one curve, one seam. It holds about 180 g of small sweets, and the only two decisions that matter are paper weight and whether the base disc is sealed from the inside.
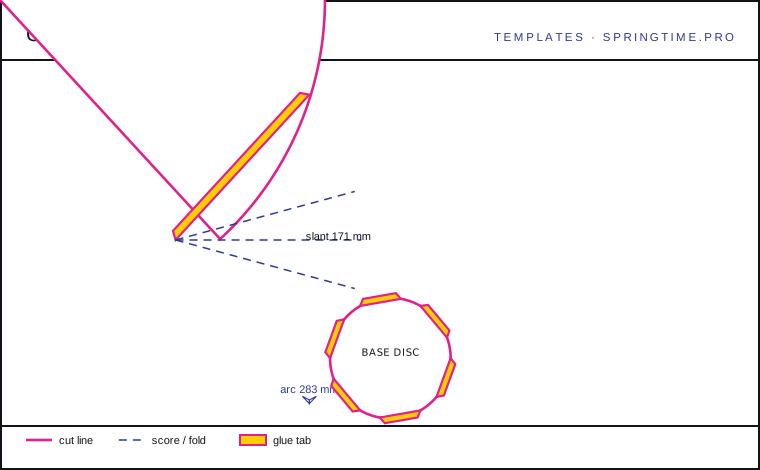
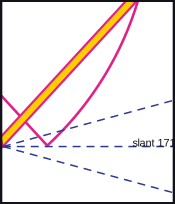
Cut the scalloped mouth freehand and the sector with the rule
The sector's two straight edges should be cut against a rule, because those two edges are what form the seam and a wavy edge there produces a lumpy join. The scalloped mouth at the wide end is the opposite: cut it freehand in one continuous movement so the scallops vary slightly, which is what keeps it from looking punched.
Cut the handle slots with the 4 mm punch, 20 mm down from the mouth, 25 mm in from each straight edge. Any lower and the slots tear when the pouch is carried full; any higher and they sit in the scallops.
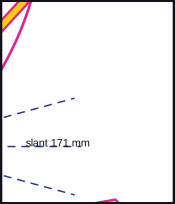
Fold the rim inward before forming the cone
Score 8 mm back from the mouth edge and fold it inward. This doubled rim is the only thing stopping a 90 mm mouth from collapsing into an oval, and it is impossible to fold neatly once the cone is closed.
Then fold the whole sector into a loose cone, without glue, and check that the rim lines up around the opening. Adjust the overlap rather than the rim if it does not — 24 mm of seam is the minimum for a pouch that will be carried.
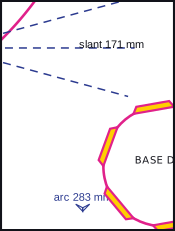
Glue the seam with the cone held, not the seam held
Roll the cone, apply glue along the inside of the overlap, and hold the cone's shape with one hand while you press the seam with the other. Holding the seam and letting the cone do what it likes produces a pouch that is round at the top and square at the bottom.
Clip 20 mm in from each end of the seam for five minutes. The middle of the seam can be pressed by hand, but the two ends are where it opens.
Seal the base disc from the inside and check the load
Push the base disc in from the top — it is easier than from below — and press the six tabs outward against the wall. Then reach in and run a 30 mm strip of tissue tape around the join on the inside. PVA alone on a 200 gsm base disc will fail the first time the pouch is carried with any weight in it.
If the pouch is for food, line the base with the greaseproof circle and check that the card you used is food-safe. Most coloured 200 gsm card is not, and that is a detail worth getting right before rather than after.
Specification
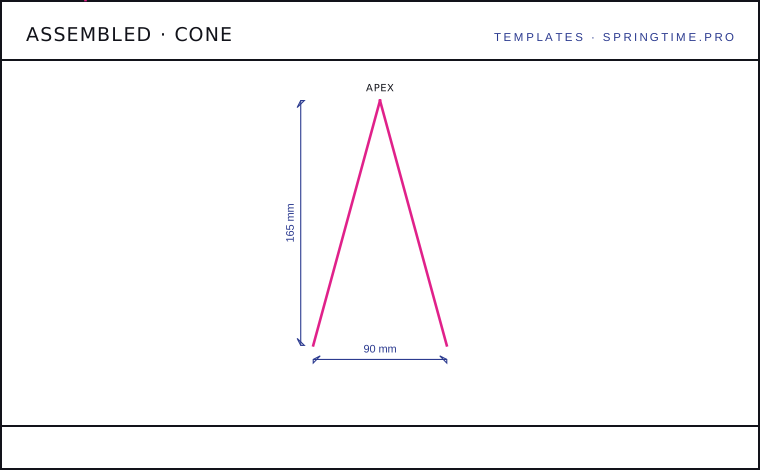
| Pouch | 90 mm mouth, 165 mm tall, 132 mm slant |
|---|---|
| Capacity | About 180 g of loose sweets, or 12 truffles in paper cases |
| Card | 200 gsm. At 160 gsm the mouth ovalises when the pouch is picked up full |
| Seam | 24 mm overlap at 15° — narrower seams split under load |
| Working time | 20 minutes, 5 of them waiting for glue |
| Blank size | 583 x 538 mm |
| Pieces | 2 |
| Assembled | 90 mm base, 165 mm tall |
Fold order
| Line | Kind | Angle |
|---|---|---|
| Sector overlap, valley, 15° — about 24 mm of glued seam | valley | 15° overlap |
| Top rim, valley, 8 mm, folded inward to give the mouth a thickness | valley | 90° |
| Two handle slots, cut not folded, 12 × 4 mm | none | — |
Cut list
- Cone sector, 132 mm slant, 196° sweep
- Base disc, 90 mm, with six tabs
- Two 12 × 4 mm handle slots, 20 mm below the mouth
- One scalloped mouth edge — cut it, do not fold it
Check the plan against the object
What goes wrong
- Cutting the straight sector edges freehand, which produces a lumpy seam.
- Folding the rim after the cone is closed — it cannot be done neatly at that point.
- Sealing the base disc with PVA only. It lets go the first time the pouch is carried full.
Keep it clean
- Cone pouches do not stack. If you are making a batch, store them nested in pairs and the rims will flatten.
- 200 gsm card marks if a full pouch is set down on a hard surface — put a circle of felt in the base if it will be reused.
- Rebuild rather than patch. A cone pouch costs 20 minutes and a repaired one always shows.
Also in this section
- Scored Gift Box Tray: A One-Piece Net at 250 gsm — 2026-08-21 · 25 min
- Leporello Card: 630 mm, Six Panels, One Fold Rule — 2026-09-02 · 55 min
- Index Card File Holder: A 300 gsm Box That Stays Upright — 2026-09-26 · 45 min